Jan 21st ~ Measuring at the Meniscus!
The New Year is here and Problem Based Learning projects (PBL's) are once again shaping up for schools in our community. This time around, we are back with Oak Grove Elementary School to work with 4th graders. I won't give away their PBL question, but they are learning how a rain gauge works and will be collecting precipitation rates all semester with the CoCoRaHS Rain Gauge donated to their school.
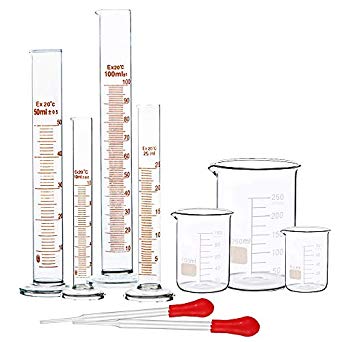
Our (Dr. Barbara Shaw and myself) first visit was to both introduce the PBL question and to teach kids how to measure liquids in graduated cylinders, beakers, and the rain gauge.
The first step when measuring water is knowing that water has adhesive properties, meaning it likes to cling to surfaces. This can be seen when you pour water into a glass container and then meet the surface at eye level. What do you see? Probably something similar to the example below.
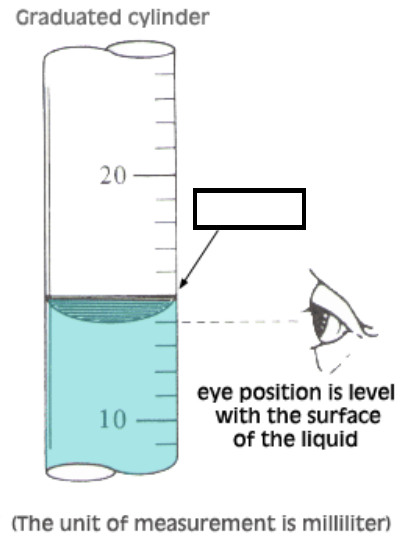 |
Thankfully, there is an answer called the Meniscus! The meniscus is the bottom of the convex curve (See updated example below).
 |
After that short lesson, we sent 4th graders off in pairs of 2-3 to 14 separate stations to practice their measuring skills. Containers ranged from cylinders to beakers of 1ml up to 200ml. We also reminded students how important is was to report units behind their measurement data. 1 cylinder measured in inches and it tended to trick about 2:10 groups every time.
 |
We discussed the measures, talked about the answers and how it's ok to have different guesses within a close range (153ml or 155ml?)
But why was the CoCoRaHS Rain Gauge the only container to measure the water in inches? Well because we measure precipitation in inches here in the USA.
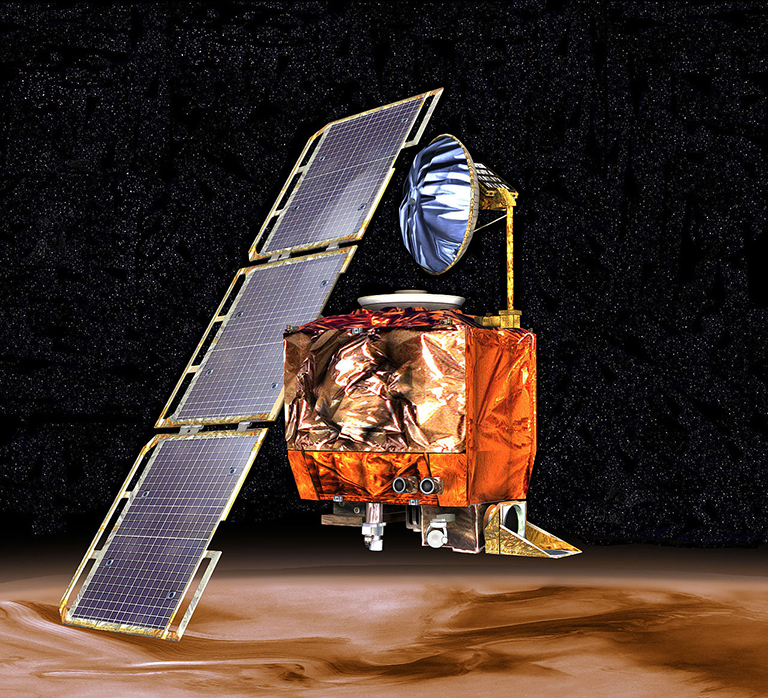
It is super important to be careful when measuring and report the exact units with all measurements. Otherwise we might face a problem similar to what NASA went through with the Mars Space Probe incident of September 1999 (Google It!).
 |


Comments
Post a Comment